Engineering Note
How to Reduce Shaft Damage With a Clamp Collar
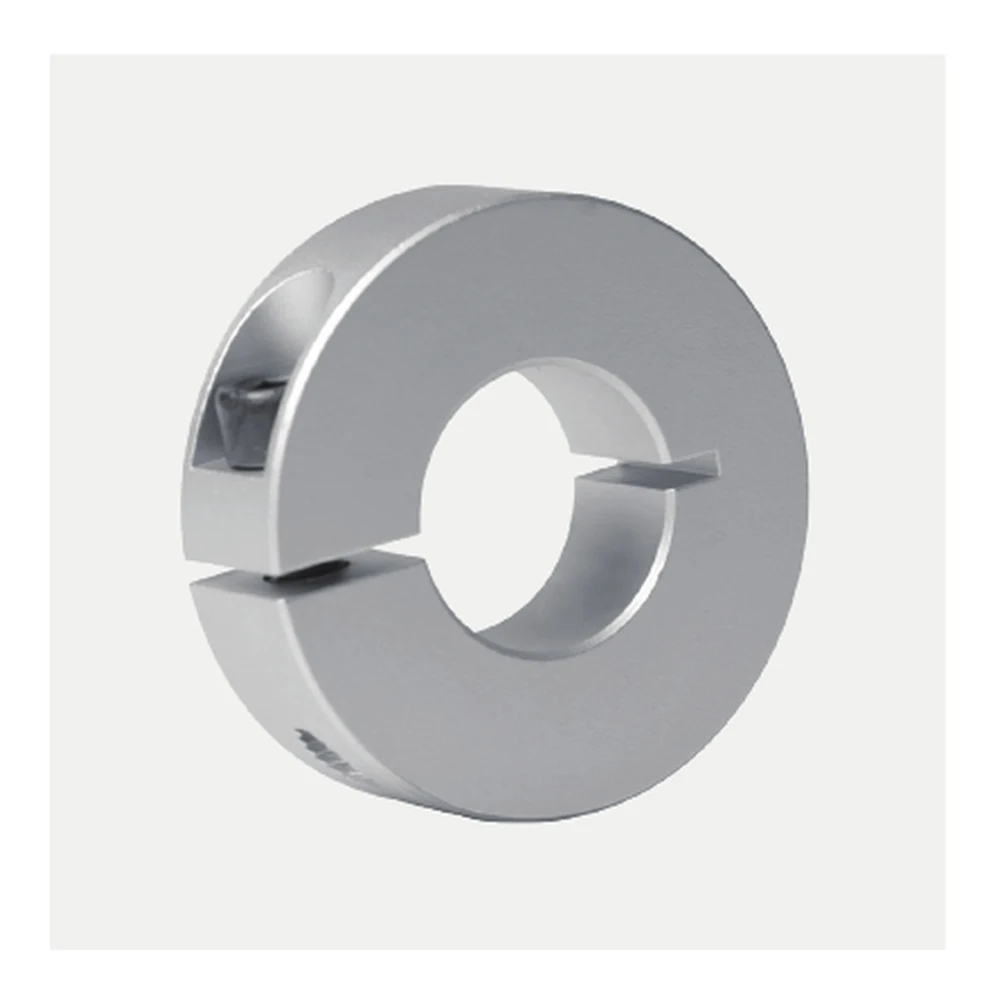
A clamp collar is often selected when the installer wants to avoid the localized point contact of a set screw against the shaft. The split-clamp format closes around the bore, but correct sizing and installation are still necessary if the goal is to protect the shaft surface and maintain a reliable locating reference.
Most avoidable damage comes from poor fit, contamination, forcing the collar during repositioning or using an installation method that does not match the actual configuration.
Start With Correct Bore Fit
Measure the shaft at the intended collar location and choose the matching nominal bore. Do not expect the split to compensate for a large dimensional mismatch, and do not force a collar onto a shaft that is visibly oversized, burred or damaged.
On worn equipment, inspect more than one point if the shaft surface is uneven. A replacement decision based on one damaged area can lead to a collar that fits poorly elsewhere.
Keep the Contact Surfaces Clean
Remove chips, abrasive particles, rust products or other contamination before installation. Debris trapped between the collar and shaft can scratch the surface, prevent consistent seating and make later repositioning more difficult.
If the machine operates in a dirty or wet environment, include that condition in the maintenance plan and the RFQ when it affects the requested material or finish.
Avoid Point-Contact Substitutions
The EP-SCS collar uses a split-clamp format, so the primary clamping action is around the bore rather than one screw point against the shaft. That is useful when the shaft surface should remain relatively free of set-screw indentations.
The collar should still be used for the role assigned by the machine design. Do not turn a locating collar into a substitute for a bearing, coupling or other functional component without a separate engineering review.
Tighten for the Ordered Configuration
Use the tightening requirement confirmed for the actual collar and application. A screw thread size is not enough information to justify borrowing a torque value from a different collar geometry or material.
Where axial holding or repeated impact is critical, identify that requirement before installation so the selected configuration and tightening method can be reviewed together.
Reposition Without Dragging
When the collar needs to move, stop the machine, loosen the clamp sufficiently and slide the collar without forcing it along the shaft. Inspect both surfaces before resetting the position, especially if contamination or impact has occurred.
Practical Inspection Checklist
| Area | Check |
|---|---|
| Shaft surface | Burrs, scoring, wear, corrosion or coating buildup. |
| Collar bore | Clean seating surface and no visible damage. |
| Clamp screw | Accessible, undamaged and suitable for the ordered configuration. |
| Position | Correct axial location after tightening. |
| Travel/clearance | No interference with moving or guarded components. |
Replacement Enquiry
For a worn or damaged assembly, send the shaft diameter, old collar dimensions and clear photos of the shaft surface and surrounding machine. This helps separate a simple collar replacement from a broader shaft-condition or interface issue.